
How to Upcycle and Style Old Furniture
This post may contain affiliate links, meaning I receive a commission for purchases made through these links, at no cost to you. Full affiliate disclosure.
January 29th 2024
Looking for ways to breathe life into your old furniture or items?
The possibilities are endless with the right sandpaper, paintbrushes and paint or stain! With a willingness to learn and a modest selection of tools, you’ll find yourself well-equipped to style and upcycle furniture.

Follow these instructions to repurpose an old dresser. These steps can be applied to similar wooden furniture pieces as well
Materials Needed:
Old Dresser
Sandpaper (medium and fine grit)
Wood filler (if needed)
Screwdriver
Paint primer
Paintbrushes or foam rollers
Chalk paint or latex paint
Clear protective finish (optional)
New hardware (optional)
Step 1: Prepare the Dresser
Remove any drawers and hardware from the dresser.
Clean the dresser thoroughly to remove dust and grime.
Step 2: Sanding
Use medium-grit sandpaper to sand the entire surface of the dresser, including drawer fronts and sides.
Sanding helps the paint adhere better and creates a smooth finish.
If the dresser has imperfections or old paint that needs to be removed, use fine-grit sandpaper or a paint stripper.
Step 3: Repairing Imperfections
Fill any holes, dents, or scratches with wood filler.
Sand the filled areas once the wood filler is dry to create a seamless surface.
Step 4: Remove Hardware
If you plan to replace the hardware, remove the existing handles, knobs, or pulls using a screwdriver.
Step 5: Prime the Dresser
Apply a coat of paint primer to the dresser. This helps the paint adhere better and ensures a more even finish.
Allow the primer to dry completely according to the manufacturer's instructions.
Step 6: Choose and Apply Paint
Select your paint color. Chalk paint is a popular choice for furniture upcycling due to its matte finish and ease of use.
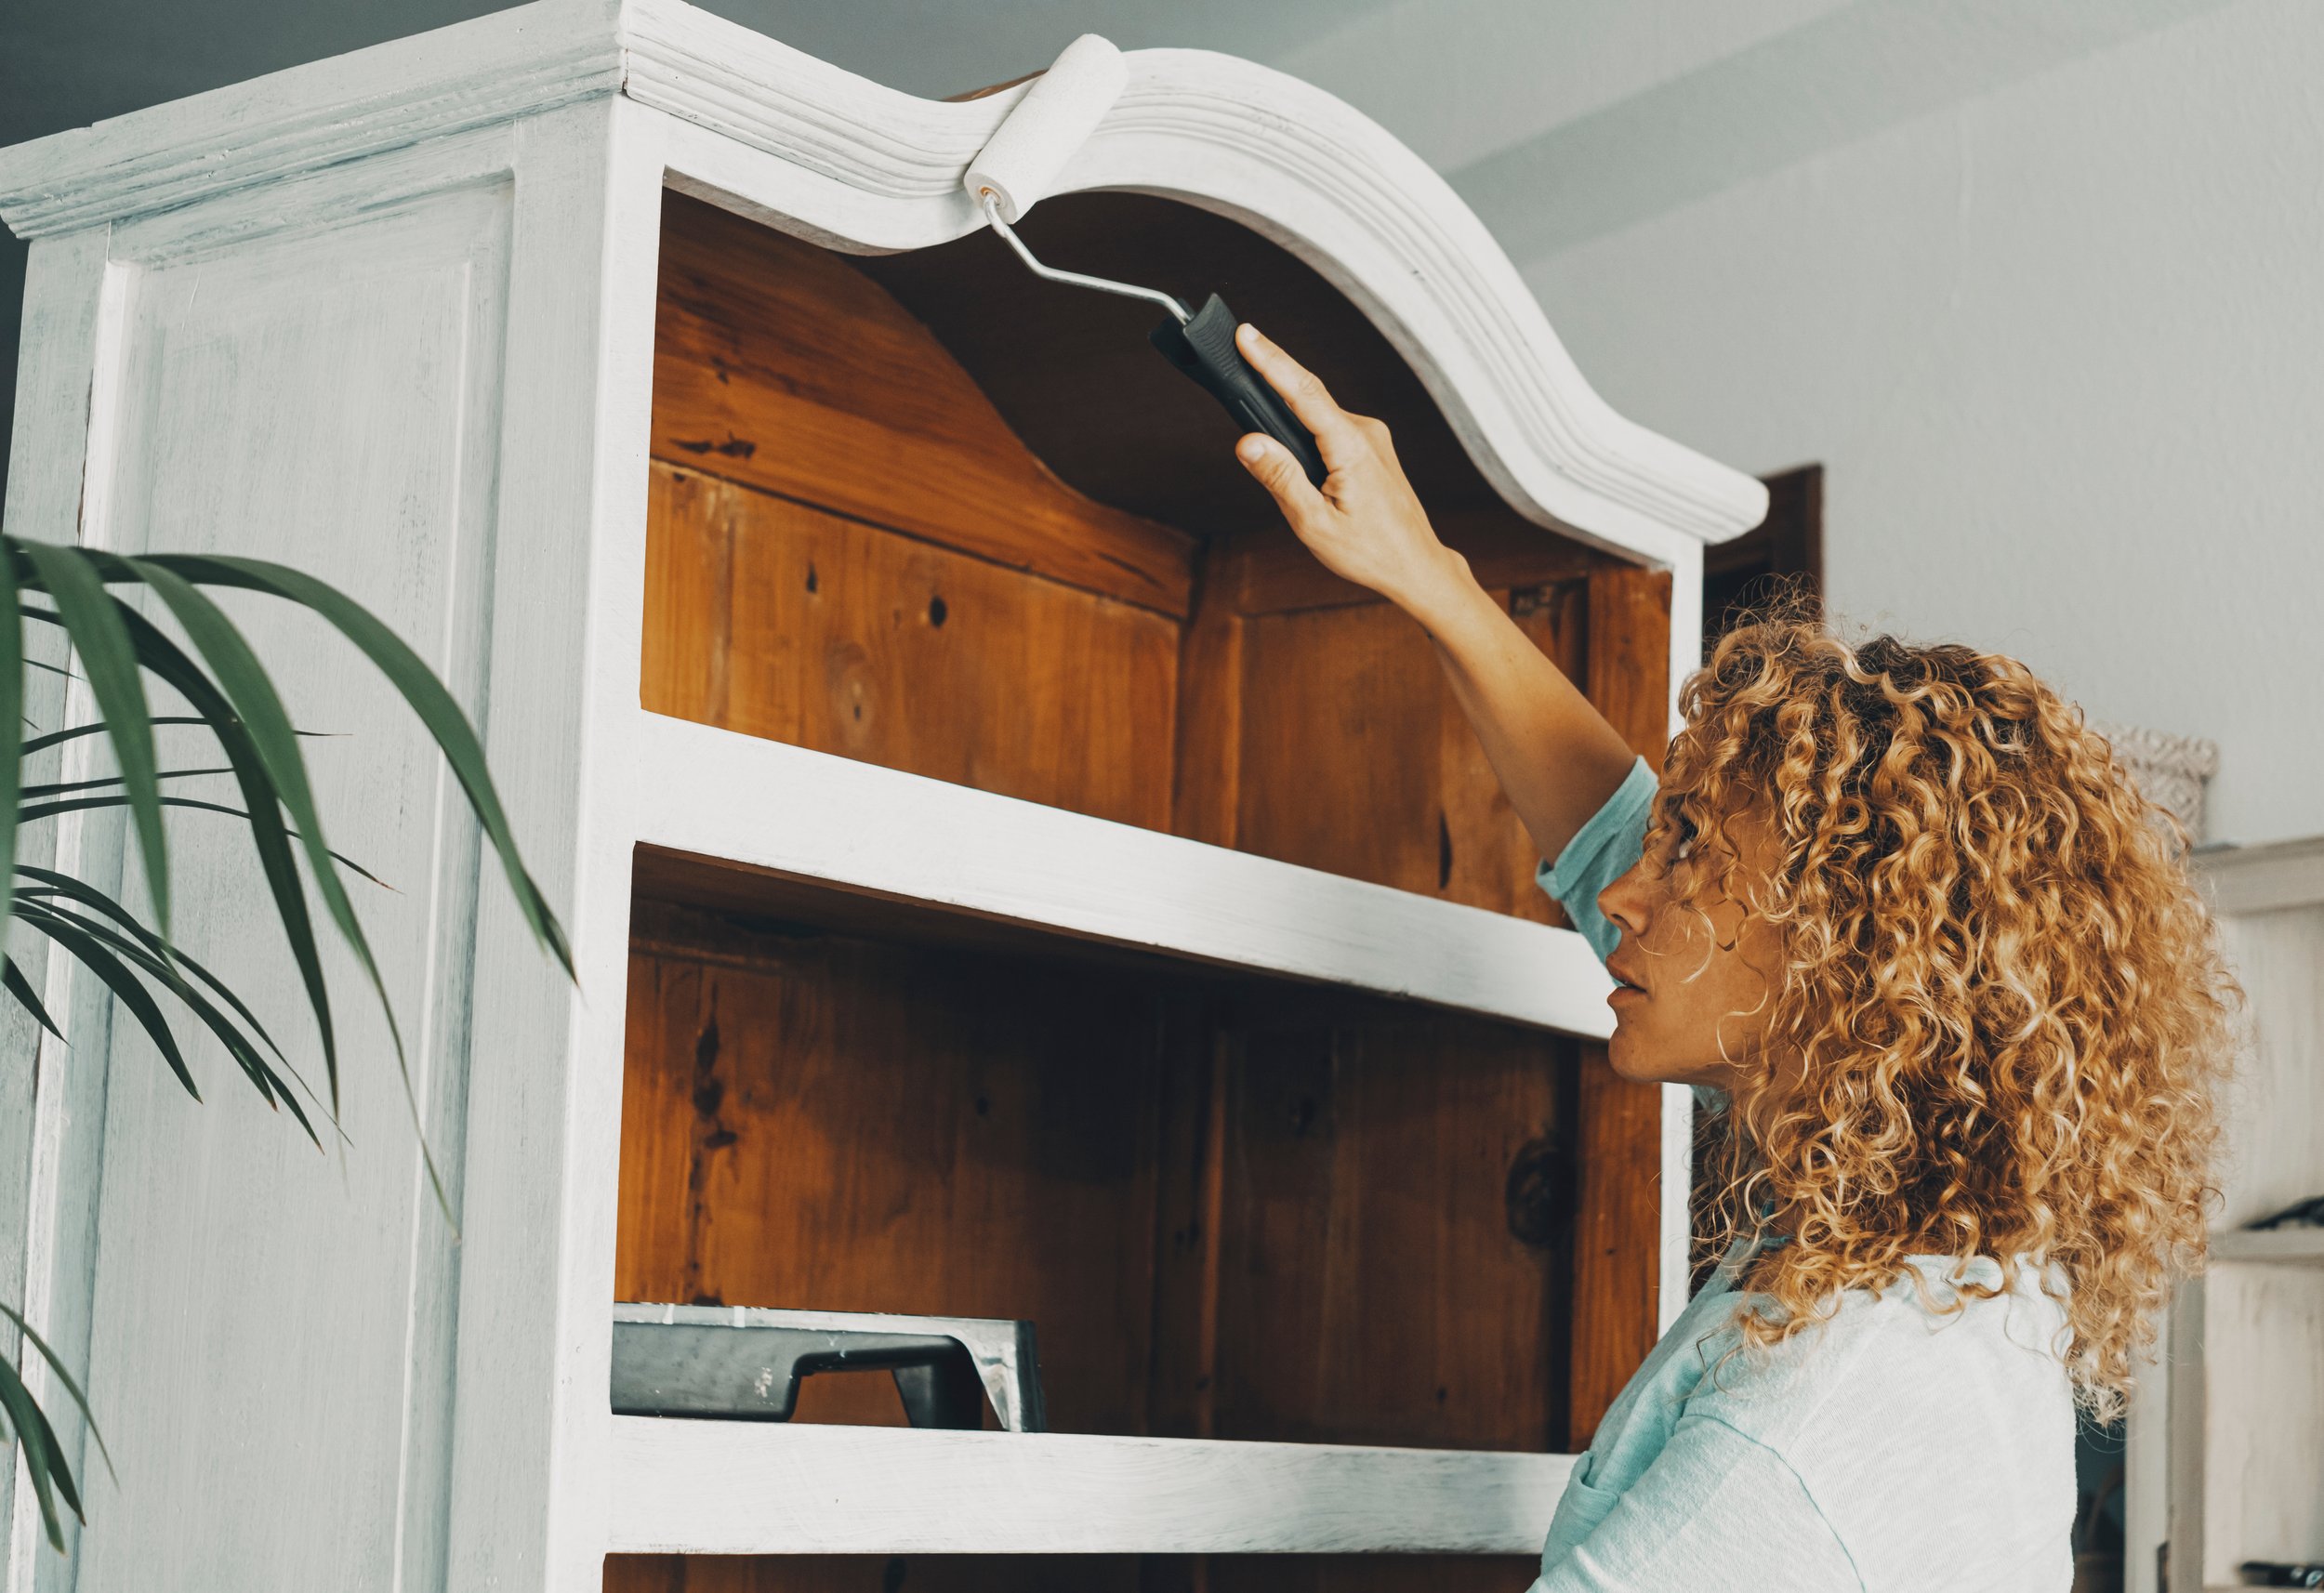
Apply the first coat of paint evenly across the dresser. Use a paintbrush or foam roller for larger surfaces and a smaller brush for details.
Allow the first coat to dry completely before applying additional coats. Depending on the color and coverage, you may need 2-3 coats.
Step 7: Optional Distressing (if desired)
If you want a distressed look, lightly sand the edges and corners of the dresser after the paint has dried.
Focus on areas that would naturally wear over time.
Step 8: Seal with Protective Finish (optional)
To protect the paint and create a durable finish, consider applying a clear protective finish. This step is optional but recommended for long-lasting results.
Step 9: Reattach Hardware or Install New Hardware
Once the paint and any protective finish are completely dry, reattach the existing hardware or install new handles, knobs, or pulls.
Step 10: Reassemble the Dresser
Place the drawers back into their respective slots.
Ensure that all components are securely reattached.

Explore the tools needed for upcycling your furniture
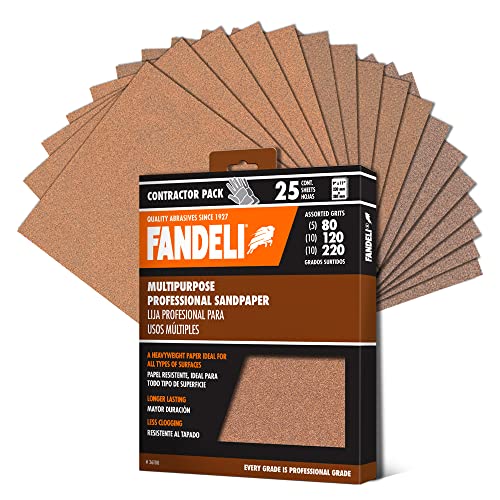
Sandpaper
Various grits of sandpaper are essential for smoothing surfaces, removing old finishes, and preparing the furniture for painting or staining.
Paint Stripper
Used to remove old paint or varnish from furniture. Choose an appropriate paint stripper based on the type of finish you want to remove.
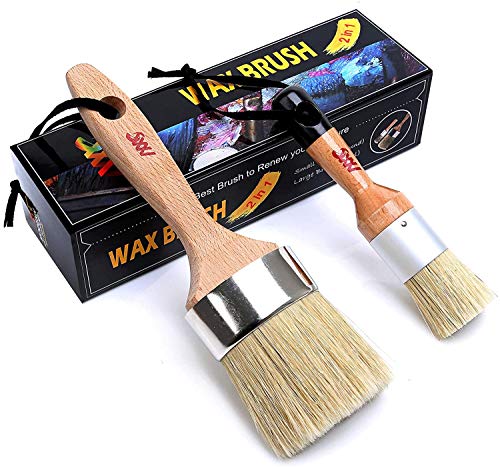
Paintbrushes and Rollers
High-quality brushes and rollers are necessary for applying paint or primer to the furniture. Different brushes may be needed for various techniques like distressing or creating texture. I prefer bristle brushes and foam brushes.
Paints and Primers
Acrylic or chalk paints are popular choices for upcycling furniture. Primers may be needed to ensure proper adhesion, especially if the furniture has a glossy finish.
Protective Gear
Safety glasses, gloves, and a mask are essential for protecting yourself from dust, fumes, and potential hazards during the upcycling process.
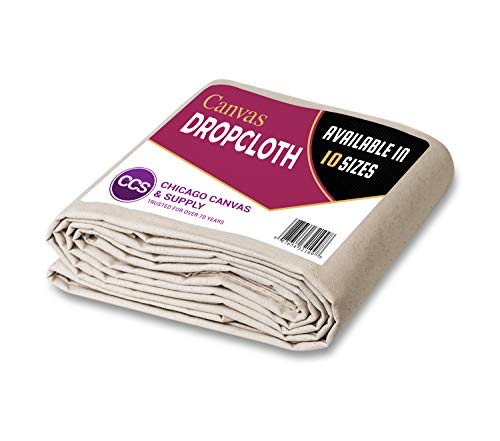
Drop Cloths or Plastic Sheeting
Protect the work area from paint drips and spills by covering surfaces with drop cloths or plastic sheeting.
Screwdriver and Drill
These tools are necessary for disassembling furniture, removing hardware, and making any necessary repairs or adjustments.
Wood Filler
Used to fill in gaps, holes, or imperfections in the wood before painting or staining.
Sanding Blocks or Electric Sander
While sandpaper is essential, sanding blocks or an electric sander can make the process faster and more efficient, especially for larger pieces.
Wood Stain
If you want to enhance the natural wood grain, wood stain is applied after sanding and before sealing. It comes in various colors and finishes.
Sealer or Topcoat
A clear sealer or topcoat protects the finish and adds durability to the furniture. Choose one that suits the type of paint or stain you've used.
Decorative Elements (optional)
Consider adding new hardware, stencils, decals, or other decorative elements to enhance the visual appeal of the upcycled furniture.
Clamps
Clamps are useful for holding pieces together during glue drying or for securing parts while making repairs.
Varnish or Polyurethane
If you want a glossy and protective finish, varnish or polyurethane can be applied after painting or staining.
Rags and Tack Cloth
Rags are handy for wiping away dust between sanding and painting. Tack cloth helps ensure a clean surface before applying the final finish.
Discover where to look for inspiration before styling or painting your upcycled furniture
Explore boards, pins, and tutorials by searching for terms like "upcycled furniture" or "DIY furniture."
Search for hashtags like #UpcycledFurniture or #DIYFurniture to discover a community of makers sharing their unique projects and insights.
Apartment Therapy
Apartment Therapy is a lifestyle website that features a dedicated section for upcycled furniture ideas.
Upcycled Wonders
Explore their collection of transformations and get ideas for incorporating sustainable practices into your furniture projects.
YouTube Channels
DIY Creators is a YouTube channel that provides video tutorials on various DIY projects, including upcycled furniture. Find step-by-step guides and creative ideas for transforming old pieces.
Design Blogs
Dive into design blogs dedicated to upcycled furniture. Blogs like Design*Sponge and Recyclart share inspirational stories, projects, and step-by-step guides. Gain insights from experienced upcyclers and discover new trends in the world of furniture transformation.
Nature and Architecture
Draw inspiration from nature and architectural elements. Explore the outdoors, visit botanical gardens, or take a stroll through historic neighborhoods. Natural forms, textures, and structural designs can spark ideas for unique and organic upcycled furniture pieces.

Discover the best types of paint for your upcycled furniture
Chalk Paint
Chalk paint is a popular choice for upcycled furniture due to its matte finish and minimal prep work requirement. It adheres well to various surfaces, providing a vintage and shabby-chic aesthetic. Distressing techniques work exceptionally well with chalk paint.
Latex Paint
Latex paint is versatile and widely available. It comes in various finishes, including matte, satin, and gloss, allowing you to achieve different looks. Latex paint is durable and easy to clean, making it suitable for high-traffic furniture pieces.
Milk Paint
Milk paint creates a unique, slightly distressed look with a matte finish. It works well for achieving a rustic or farmhouse-style appearance. Milk paint is known for its eco-friendly composition and ease of use.
Spray Paint
Spray paint provides a smooth and even finish, especially for intricate or hard-to-reach areas. It comes in a variety of colors and finishes, including metallic and textured options. Spray paint is convenient for smaller projects and detailed work.
Oil-Based Paint
Oil-based paint offers a durable and glossy finish. It's suitable for furniture that requires extra protection, such as outdoor pieces. Keep in mind that oil-based paints may have a longer drying time and a stronger odor.
Acrylic Paint
Acrylic paint is versatile and available in a wide range of colors. It dries quickly, making it suitable for layered or blended techniques. Acrylic paint works well for artistic designs, patterns, and intricate details.

Explore creative ways to layer paint with upcycled furniture
Distressing
Apply two contrasting colors of paint, allowing the base color to show through after sanding or using a sanding block. This distressing technique imparts a weathered and aged appearance.
Ombré Effect
Create a gradient effect by layering different shades of the same color or complementary colors. Blend the colors together for a seamless transition, achieving an ombré effect.
Dry Brushing
Use a dry brush to apply a small amount of paint over the base coat. This technique adds texture and highlights to the furniture, emphasizing raised surfaces and details.
Crackling
Apply a crackle medium between layers of paint. When the top coat dries, it forms cracks, revealing the base coat beneath. This technique adds a vintage and aged look to the furniture.
Layering with Stencils
Technique: Apply a base coat, let it dry, and then use stencils to layer additional colors or patterns. Stenciling allows for intricate designs and personalized touches on upcycled furniture.
Whitewashing
Create a whitewashed effect by diluting white paint with water and applying it over the base coat. Wipe away excess paint with a cloth, allowing the underlying color to show through. This technique imparts a light and airy appearance.
Color Washing
Color washing involves applying a thinned-down layer of paint over the base coat. This translucent layer adds depth and softness to the furniture, creating a subtle and nuanced finish.

Discover unique ways to create upcycled furniture
Decoupage Transformation
Use decoupage to transform furniture by adhering decorative paper or fabric onto surfaces. This technique allows for intricate designs, patterns, or even storytelling through images. Seal the decoupaged layers with varnish for durability.
Map or Book Page Furniture
Cover furniture surfaces with vintage maps, book pages, or sheet music. Apply a layer of clear sealant to protect the pages and create a distinctive, literary-inspired piece.
Suspended Garden Table
Transform an old table into a suspended garden. Remove the table legs, add hanging mechanisms, and use it as a unique vertical garden. Plant small herbs or succulents in containers attached to the tabletop.

Drawer Shelves
Repurpose old drawers as wall-mounted shelves. Arrange drawers in an interesting pattern and use them to display decorative items, books, or small plants. Paint or distress the drawers for added character.
Door Headboard
Turn old doors into a headboard for your bed. Attach the doors vertically, either as they are or with added embellishments. This creates a visually striking and unique focal point for the bedroom.
Wine Barrel Furniture
Upcycle wine barrels into furniture pieces. Create a wine barrel coffee table, storage, or even a wine barrel sink. The natural wood and metal elements add rustic charm to any space.

Ladder Shelving Unit
Repurpose an old wooden ladder into a stylish shelving unit. Place the ladder horizontally against a wall, secure shelves between the ladder rungs, and use it to display books, plants, or decorative items.
Suitcase Side Table
Stack vintage suitcases to create a unique side table. Attach the suitcases together, ensuring stability, and top it with a glass surface. This functional and quirky piece adds character to any room.
Bicycle Wheel Table
Upcycle an old bicycle wheel into a distinctive table. Attach the wheel to a sturdy base, and either add a glass top or use it as an unconventional side table. This design brings an industrial and eclectic vibe.
Window Pane Room Divider
Transform old window frames into a room divider. Remove the glass panes and replace them with mirrors or painted panels. This not only divides spaces but also adds a vintage touch to your interior.
Piano Bookshelf
Repurpose a broken or unused piano into a bookshelf. Remove the piano's internal components, leaving the wooden frame intact. Install shelves within the piano structure for a unique and artistic bookshelf.
Old Bathtub Sofa
Convert an old cast-iron bathtub into a luxurious sofa. Add padding, upholstery, and sturdy legs to create a conversation-starting piece for a quirky and comfortable seating area.

Suitcase Pet Bed
Transform vintage suitcases into cozy pet beds. Remove the suitcase lid, add a cushion, and embellish with decorative elements. This upcycled piece provides a stylish and comfortable retreat for furry friends.
Guitar Case Wall Shelves
Turn old guitar cases into wall-mounted shelves. Attach the cases vertically to the wall and use them to display small items or store books. This musical-inspired shelving adds a touch of whimsy to any room.
Crate Storage Coffee Table
Repurpose wooden crates into a coffee table with built-in storage. Arrange the crates in a grid, secure them together, and top with a glass surface. This functional piece adds a rustic and industrial flair to the living room.

Safety measures to consider when upcycling furniture
Ventilation
Work in a well-ventilated area, especially when using paints, stains, or adhesives. Proper ventilation helps to minimize exposure to fumes and ensures a healthier workspace.
Protective Gear
Wear appropriate protective gear, including safety glasses or goggles to shield your eyes from dust and debris, as well as gloves to protect your hands from chemicals and sharp edges.
Dust Mask or Respirator
When sanding or working with materials that produce dust, wear a dust mask or respirator to protect your respiratory system. This is particularly important to prevent inhalation of potentially harmful particles.
Ear Protection
If using power tools that generate loud noise, such as sanders or saws, wear ear protection. Prolonged exposure to loud noises can lead to hearing damage.
Tool Safety
Familiarize yourself with the proper use of tools and follow safety guidelines. Keep tools well-maintained, and use them in accordance with the manufacturer's instructions to prevent accidents.
Proper Lifting Techniques
When moving or lifting heavy furniture pieces, use proper lifting techniques to avoid strain or injury. Bend your knees, keep your back straight, and lift with your legs rather than your back.
Fire Safety
Be cautious with heat sources, especially when using tools that generate heat, such as sanders or heat guns. Ensure that your workspace is clear of flammable materials, and have a fire extinguisher nearby.
Chemical Safety
Read and follow the instructions on chemical products carefully. Use appropriate personal protective equipment (PPE) when working with chemicals, and store them in a well-ventilated area away from heat sources.
Sharp Object Handling
Exercise caution when working with sharp tools or handling materials with sharp edges. Keep blades sharp and use cutting tools with care to avoid accidental cuts or injuries.
Electrical Safety
If using power tools, ensure that electrical cords are in good condition, and use ground fault circuit interrupters (GFCIs) when working with electrical equipment. Keep power tools away from wet or damp areas.
Secure Workpiece
Secure the furniture piece properly when working on it. This includes using clamps or securing it on a stable work surface to prevent movement and potential accidents.
First Aid Kit
Have a well-stocked first aid kit in your workspace. In case of minor injuries, having the necessary supplies readily available can make a significant difference.
Emergency Exit
Ensure that your workspace has clear access to emergency exits. In the event of an emergency, having a quick and unobstructed path to exit is essential for safety.
Read Material Safety Data Sheets (MSDS)
For any chemicals or products you use, refer to the Material Safety Data Sheets to understand potential hazards, safe handling procedures, and first aid measures.
Work Area Organization
Keep your workspace organized and free of clutter. This helps prevent tripping hazards and ensures a more efficient and safer working environment.


Thank you for visiting today!